
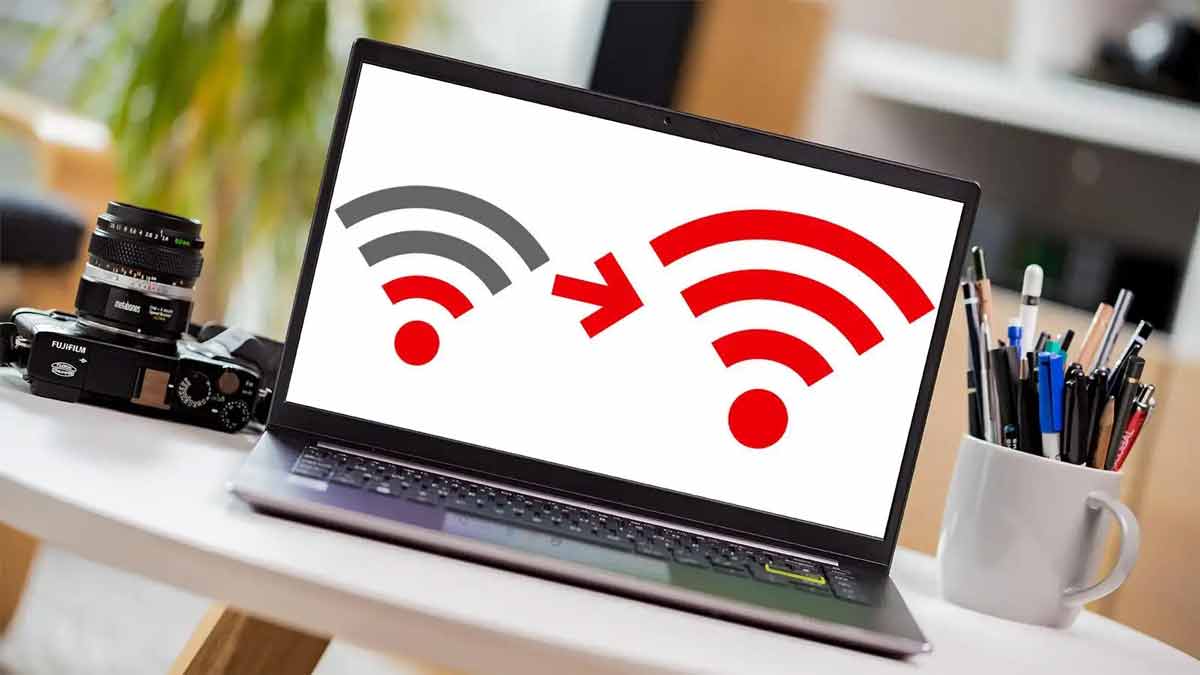
Have problems with your laptop connecting to Wi-Fi? Maybe this easy method can solve this problem
Laptop not being able to connect to Wi-Fi is one of the problems that often occurs. In this very fast digital era, an internet connection is of course very important to meet various needs. All devices are helped by an internet connection, either with a LAN or wireless system.
Almost all modern devices have the ability to connect to a wireless internet network or Wi-Fi. However, it is not uncommon for some devices such as laptops to not be able to connect to a Wi-Fi network, so what is the cause?
Actually, there are several reasons why this error message appears when you want to use a Wi-Fi network or hotspot, such as errors in configuration, settings, driver problems and limited access to the Wi-Fi in question.
Contents
Reasons Why Laptop Can’t Connect to Wi-Fi
Actually, there are several reasons why you can’t connect your laptop to a Wi-Fi network, such as the message ” can’t connect to this network ” appearing when you want to use a Wi-Fi network/ hotspot, Microsoft even provides a way to overcome this considering how important a Wi-Fi connection is. Fi.
It could be that an error occurs due to an error problem on the laptop device itself or it could be because the internet ISP is having problems.
How to Solve a Laptop Can’t Connect to Wi-Fi
Regardless of the cause of the statement ” can’t connect to this network ” appearing when accessing Wi-Fi, there are several solutions you can do to fix it. For example, by restarting the computer/ laptop, restarting the Wi-Fi adapter, reconnecting the Wi-Fi network, and resetting network settings.
1. Restart your laptop
When you experience problems because you can’t connect to Wi-Fi, don’t be too hasty in changing the network settings on your laptop.
In fact, this problem could just be caused by system services not running properly or programs colliding. It is very possible if there is a problem with the driver or internet network. Therefore, it is highly recommended to solve this problem by restarting your laptop first to determine the problem.
2. Re-connect Wi-Fi dengan Airplane Mode
If the previous method still doesn’t work, the next step you can try is to re-connect to the Wi-Fi network.
This method is done by activating airplane mode for a few moments, then turning it off. Then continue by forgetting the Wi-Fi network connected to your laptop. The purpose of this step is to update the Wi-Fi network preferences used.
- Click the Wi-Fi network icon on the Taskbar.
- Click the Airplane Mode feature and leave it for a few moments.
- Turn this feature off again.
Or if there are still problems, you can use the Forget option, such as:
- Click the network icon on your laptop’s Taskbar.
- Right-click on the Wi-Fi network, then select Forget.
- If so, then reconnect to the Wi-Fi network.
3. Reset Network Setting
If you can’t connect to Wi-Fi, then you can try the Reset Network feature to solve this problem. By activating this feature, you can delete all previously set network preferences and reinstall the network adapter components.
Here are the steps you can take:
- Click the Start icon on your laptop’s Taskbar.
- Click Settings » select Network & Internet » click Advanced Network Settings.
- If so, select Network Reset » then click Reset Now.
- Then click Yes, to confirm Network Reset.
- Finally, restart your laptop, and you’re done.
4. Use the Network Troubleshooter Option
Apart from the methods above, you can also use other options such as using Network Troubleshooter to resolve the ” can’t connect to this network ” error message on your laptop.
This feature has the main function of carrying out a diagnosis and finding a way to fix it if there is a network problem on your computer/ laptop device.
After using this feature, you can usually see where the Wi-Fi network problem is. However, this method does not guarantee success because it is based on indications from the internet and the operating system. Here are the steps:
- Click the Start menu icon on your laptop’s Taskbar.
- Click Settings » select Network & Internet » click Status.
- In the Advanced Network Settings section, select Network Troubleshooter.
- When the Network Adapter dialog appears, please select Wi-Fi » then click Next.
- Wait a few moments for the diagnosis process of your operating system.
- After that, try connecting to the Wi-Fi network again.
5. Update Driver Network
The last way that is usually effective for solving problems connecting to Wi-Fi is to update the drivers for your laptop. That’s right, drivers that are damaged, not new, or not installed can be the main problem why Wi-Fi can’t connect.
Therefore, always make sure first that the network driver on your laptop has been installed. If the driver is having problems, a yellow exclamation mark will appear.
If you don’t experience this, you just need to update your laptop’s network driver. To update, you can follow the steps as follows:
- Right-click on the Start menu » select Device Manager.
- Then look at the Network Adapter section.
- Right-click on the driver that needs to be updated or uninstalled.
- If you choose to update driver, select search automatically for drivers.
- Your operating system will carry out a search process and automatically install the driver.
- If so, then you can click Close and reconnect your laptop to the Wi-Fi network.
It should be noted that no one knows for sure the main cause of Wi-Fi not connecting.
The reason is because this problem can be caused by many factors, for example, a problematic Wi-Fi adapter, an ISP or internet network provider experiencing problems, and your laptop‘s Wi-Fi hardware being damaged, and so on.